1. General > Labor Ticket Import

2. Enter Labor Date or select from calendar.

3. Select the Mechanic you would like to import labor for.

4. Click Import to pull all non-imported labor entries from Mobile Service.
*Note: Labor Import and Post is a 2 step process. Import is Step 1. Make sure to continue reading for instructions to Post (step 2).

5. If Import returns no data, the labor entries may have already been imported.

6. To retrieve these entries, click here and then click Import again.

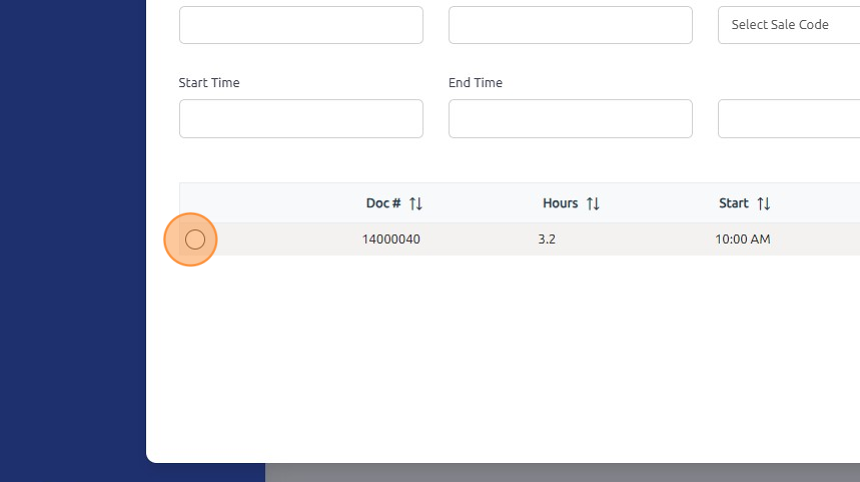
7. To review / edit a labor entry, select the radio button.
8. Make any necessary changes to Start / End Times, Sale Code, Section, or Primary Meter.

9. Note: (1) adjusting these times will require you to adjust the hours in the Hours field and (2) labor rounding is applied upon initial import but isn't reapplied once labor is edited in Labor Ticket Import.

10. Click Update once any necessary changes have been made.

11. Enter the Total Hours of the listed labor entries. This amount should match the referenced hours to the right of this field. If not, you will need to adjust the hours listed on the labor entries below.

12. Click Post to post labor to the associated documents.

Note:
In the Labor Ticket Import program, clicking the "prohibited symbol" button after selecting a technician and date will clear the import flag for that labor entry, allowing it to be imported again.
- When hovering over the button, it will display a tooltip stating "Clear the Import Flag".
- Caution: Use this carefully to avoid duplicate posting. Only clear the import flag when you need to re-import labor that was missed or needs correction.
If you need to switch to another technician after one is already populated, you must exit the program and re-open it to select a different tech.
Was this article helpful?
That’s Great!
Thank you for your feedback
Sorry! We couldn't be helpful
Thank you for your feedback
Feedback sent
We appreciate your effort and will try to fix the article