1. General > Parts > Inventory Counts

2. Enter Inventory ID for a new count or select an existing ID from dropdown to maintain an existing count.

3. Check this box if you would like to create an Inventory Count using the Multi Bin Entry tab to count parts. If box is unchecked, Single Bin Entry will be used.

4. Select the Warehouse from the dropdown that you wish to count. Note: up to three may be selected.

5. Check the Cycle Count box if you're running a Cycle Count. The fields below will enable to enter in the criteria on which to select parts from the warehouse above to count.

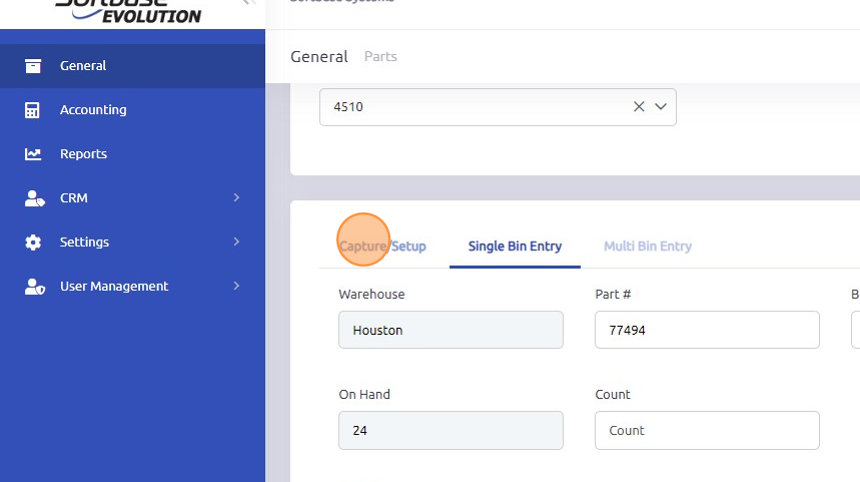
6. Click Capture. Inventory List will populate - do not make changes to bin locations or add parts until all posting of inventory has been completed.

7. Open Single Bin / Multi Bin Entry tabs to enter in the parts counts.

8. Select part.

9. Enter Count and click Enter key to move through the part entries.

10. Open "Capture/Setup" tab to Post and Print Inventory count.
11. Make print selections under Display Parameters - print either Not Counted report, Count Variance report or Value Variance report.

12. Click "Print"

13. Click here to Post inventory count.

How to cancel/reverse an inventory count
Once an inventory count has been posted, adjustments would need to be made either by entering another inventory count or as a manual update to the On Hand Quantity in the part record(s).
**Note - any part numbers that were found or counted but not included on the count sheets would need to be handled as a manual update to the On Hand Quantity in the part record(s).
Was this article helpful?
That’s Great!
Thank you for your feedback
Sorry! We couldn't be helpful
Thank you for your feedback
Feedback sent
We appreciate your effort and will try to fix the article